A Comprehensive Guide to Checking and Changing Your Car’s Coolant at Home

Proper maintenance of your car’s cooling system is vital for ensuring optimal engine performance and preventing overheating issues. Regularly checking and changing the coolant is a fundamental aspect of this upkeep. In this comprehensive guide, we will walk you through the steps to inspect and replace your car’s coolant in the comfort of your own home. By following these procedures, you can extend the life of your engine, enhance fuel efficiency, and avoid potential breakdowns caused by overheating. Let’s delve into the details of this DIY process and empower you to keep your vehicle running smoothly.

Contents
- 1 Introduction to Your Car’s Cooling System
- 2 Importance of Regular Coolant Checks and Changes
- 3 Tools and Materials Required
- 4 Checking the Coolant Level
- 5 Testing the Coolant Quality
- 6 Changing the Coolant
- 7 Proper Disposal of Old Coolant
- 8 Recommended Coolant Change Intervals
- 9 Additional Tips for Maintaining Your Car’s Cooling System
- 10 Key Insights from the Comprehensive Guide to Checking and Changing Your Car’s Coolant at Home
Introduction to Your Car’s Cooling System
The cooling system in your car is responsible for regulating the engine’s temperature by dissipating heat generated during combustion. It consists of several components, including the radiator, water pump, thermostat, hoses, and coolant. Coolant, also known as antifreeze, plays a vital role in maintaining the engine’s temperature within the desired range.
Importance of Regular Coolant Checks and Changes
Regularly checking and changing your car’s coolant is essential for several reasons. Firstly, coolant deteriorates over time, leading to a decrease in its effectiveness. This can result in inadequate cooling and potential engine damage. Secondly, coolant can become contaminated with debris, rust, or oil, further reducing its ability to cool the engine efficiently. Lastly, neglecting coolant maintenance can lead to overheating, which can cause severe engine damage and costly repairs.
Tools and Materials Required
Before beginning the coolant check and change process, gather the following tools and materials:
- Safety goggles and gloves
- Coolant tester or hydrometer
- Funnel
- Distilled water
- New coolant/antifreeze (check your car’s manual for the recommended type)
- Socket set or wrench (if necessary for accessing the radiator cap)
See more: What to Do When Your Transmission System is Faulty
Checking the Coolant Level
To ensure your car’s cooling system is operating optimally, it is crucial to regularly check the coolant level. Follow these steps:
- Park your car on a level surface and let the engine cool down completely.
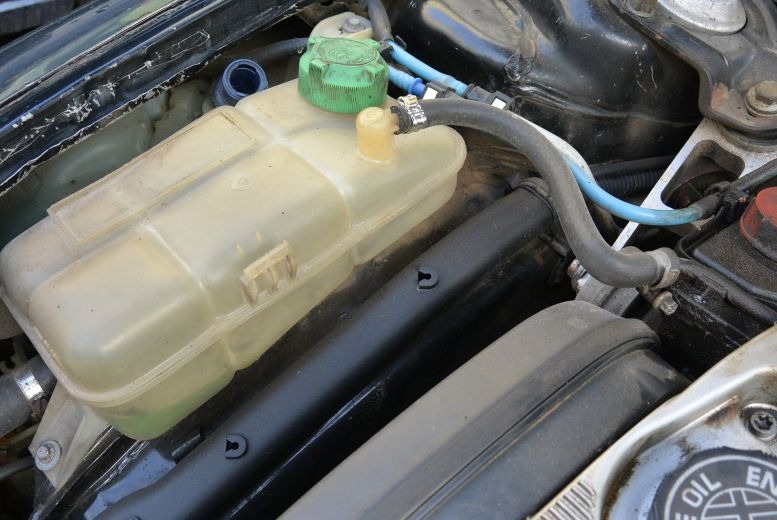
- Open the hood and locate the coolant reservoir. It is often a semi-transparent plastic tank with markings indicating minimum and maximum levels.
- Carefully remove the cap from the reservoir. If the engine is still hot, use a towel or rag to protect your hands from steam.
- Check the coolant level against the markings on the reservoir. The level should be between the minimum and maximum marks.
- If the coolant level is below the minimum mark, it indicates a potential leak or excessive consumption. In such cases, it is advisable to have your car inspected by a professional mechanic.
Testing the Coolant Quality
In addition to checking the coolant level, it is essential to assess its quality. Follow these steps to test your car’s coolant:
- Ensure that the engine is cold.
- Put on safety goggles and gloves for protection.
- Open the hood and locate the radiator cap. If necessary, use a socket set or wrench to remove it.
- Attach the coolant tester or hydrometer to the radiator neck and extract a small amount of coolant.
- Observe the tester’s readings or hydrometer’s float position.
- The readings should indicate the freezing point and boiling point of the coolant mixture. Compare these values with the manufacturer’s recommendations to determine if your coolant needs changing.
- If the coolant fails the test or does not meet the recommended specifications, it is time to replace it.
Changing the Coolant
Once you have determined that your car’s coolant needs changing, follow these steps to complete the process:
- Park your car on a level surface and let the engine cool down completely.
- Put on safety goggles and gloves for protection.
- Locate the radiator drain plug at the bottom of the radiator and place a container underneath to catch the old coolant.
- Slowly open the drain plug using a socket set or wrench and allow the coolant to drain completely.
- Once all the old coolant has drained out, close the drain plug securely.
- Locate and open the radiator cap or reservoir cap (depending on your car’s design) to allow air flow during the refill process.
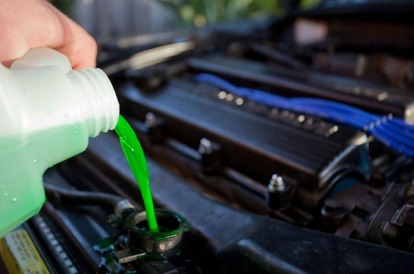
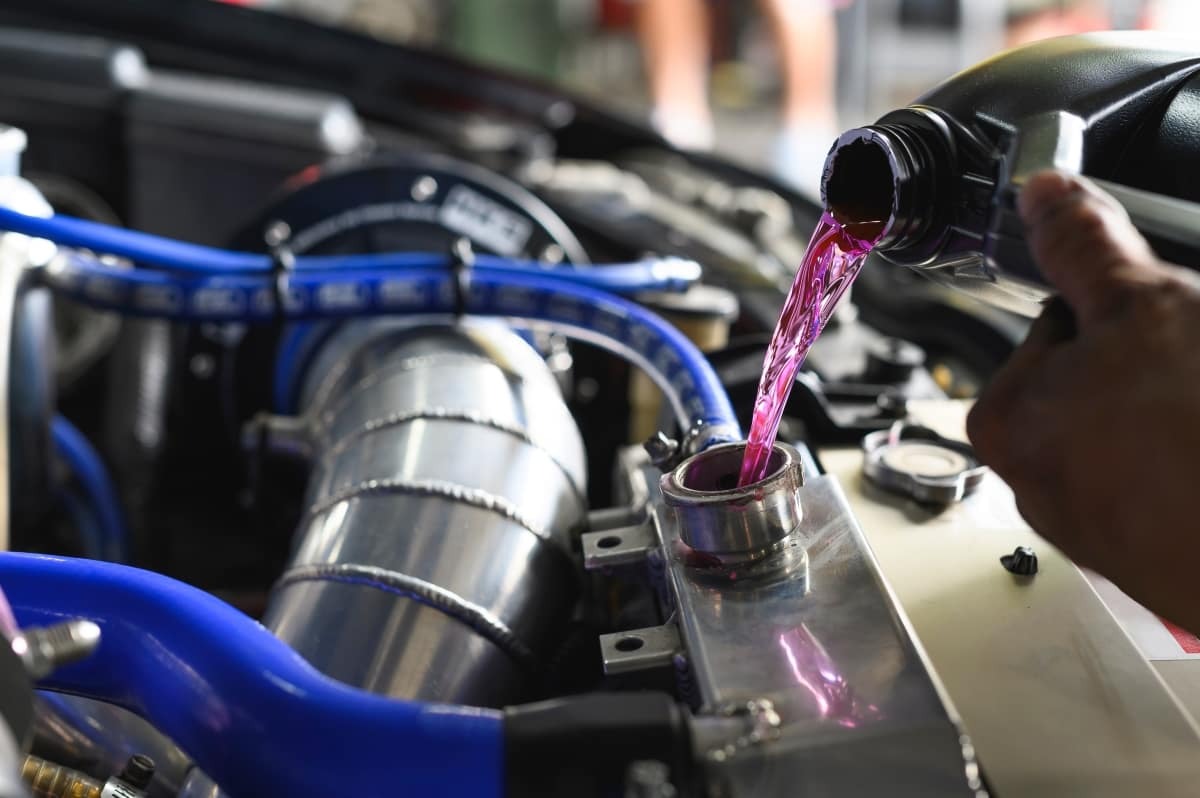
- Using a funnel, pour a mixture of new coolant and distilled water into the radiator or reservoir until it reaches the recommended level.
- Replace and secure the radiator or reservoir cap.
- Start your car’s engine and let it run for a few minutes with the heating system on high. This will help circulate the new coolant throughout the system.
- Recheck the coolant level after allowing your car’s engine to cool down.
- If necessary, add more coolant mixture to reach the recommended level.
Proper Disposal of Old Coolant
It is important to dispose of old coolant safely and responsibly to protect the environment. Here are some guidelines:
- Never pour old coolant down storm drains or into household drains.
- Check local regulations for designated collection centers or recycling facilities that accept used automotive fluids.
- Store used coolant in tightly sealed containers until you can safely dispose of it.
How to Recognize if Your Vehicle’s Suspension System is Faulty
Recommended Coolant Change Intervals
The frequency of coolant changes varies depending on factors such as vehicle make, model, and driving conditions. However, as a general guideline, it is advisable to change your car’s coolant every 30,000 to 60,000 miles or every 2 to 5 years.
Additional Tips for Maintaining Your Car’s Cooling System
To ensure your car’s cooling system remains in top condition, consider these additional tips:
- Regularly inspect hoses for cracks or leaks and replace as necessary.
- Check for any signs of rust or corrosion in the radiator or cooling system components.
- Keep your car’s radiator fins clean from debris by gently rinsing them with water.
- Schedule periodic inspections with a professional mechanic to identify any potential issues early on.
Key Insights from the Comprehensive Guide to Checking and Changing Your Car’s Coolant at Home
By following our comprehensive guide, you can confidently check and change your car’s coolant at home, ensuring that your vehicle’s cooling system operates optimally. Regular maintenance of your cooling system not only prevents costly repairs but also contributes to overall engine performance and longevity. Remember to always prioritize safety and consult your car’s manual for specific instructions and recommendations tailored to your vehicle model.
See more news at: car care vip


