How to Check Whether Your Vehicle’s Electrical System is in Good Condition or Damaged
Ensuring your vehicle’s electrical system is in optimal condition is paramount for smooth operations. This guide offers a comprehensive approach to help you assess whether your vehicle’s electrical system is in good condition or requires attention. From the battery and alternator to fuses and wiring, we’ll explore step-by-step checks and diagnostics. Uncover the signs of potential issues, understand the importance of routine inspections, and gain confidence in identifying electrical system health. Power up your knowledge and keep your vehicle’s electrical components in top-notch shape with this guide on evaluating the vitality of your vehicle’s electrical system.

Contents
Check the Battery
The battery is the heart of your vehicle’s electrical system, providing the initial power to start the engine. To check its condition, follow these steps:
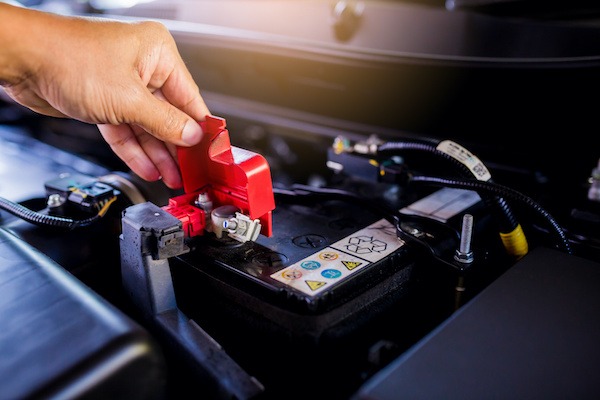
- Visual Inspection: Start by inspecting the battery for any signs of corrosion, leakage, or damage. Look for cracks on the case or loose connections. If you notice any issues, it’s recommended to replace the battery.
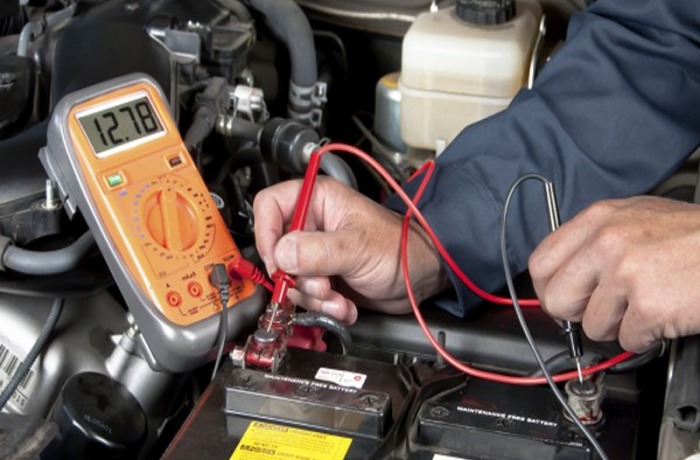
- Battery Voltage Test: Use a multimeter to measure the battery voltage. A fully charged battery should read around 12.6 volts. If the voltage is significantly lower, it might indicate a weak battery that needs to be replaced.
- Load Test: Perform a load test using a battery tester or by turning on your vehicle’s headlights for a few minutes with the engine off. If the battery voltage drops below 9.6 volts, it may need to be replaced.
Inspect the Wiring
Faulty or damaged wiring can lead to various electrical problems in your vehicle. Here’s how you can inspect the wiring:
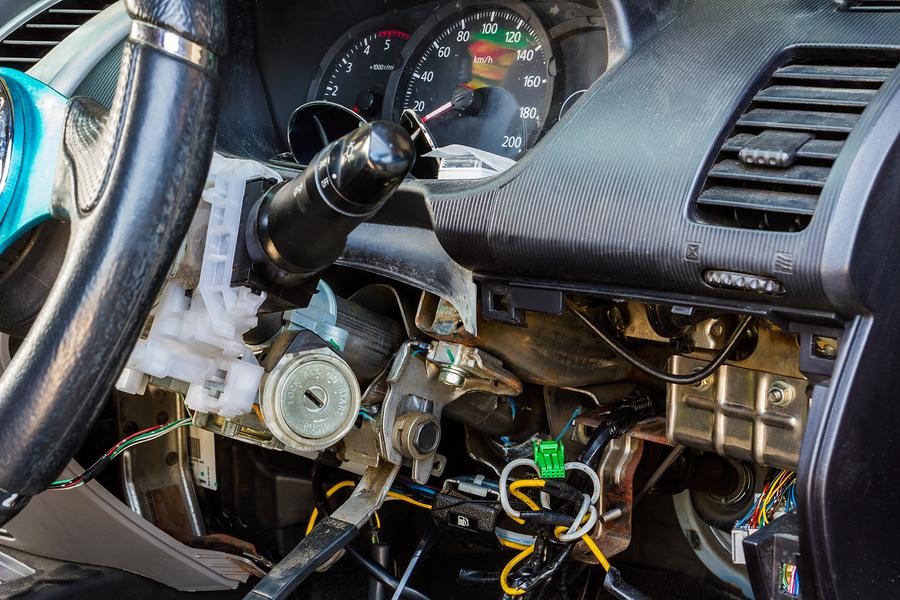
- Visual Inspection: Inspect the wiring harnesses under the hood and inside the vehicle for any signs of fraying, exposed wires, or loose connections. Pay close attention to areas where wires pass through metal or plastic components.
- Testing Continuity: Use a digital multimeter set to the continuity mode to test the resistance of wires and connections. Probe both ends of each wire and connection to ensure there is no resistance or intermittent connectivity.
- Repair or Replace: If you identify any damaged wires or connections, repair or replace them as necessary. Ensure proper insulation and secure connections to prevent future issues.
Check Fuses and Relays
Fuses and relays protect your vehicle’s electrical system from overload and short circuits. Follow these steps to check their condition:
- Locate the Fuse Box: Refer to your vehicle’s owner manual to locate the fuse box. It is typically found under the dashboard, in the engine compartment, or in the trunk.
- Inspect Fuses: Remove each fuse one by one and visually inspect them for any signs of blown fuses (a broken metal strip inside). Replace any blown fuses with a new one of the same rating.
- Test Relays: Relays control various electrical components in your vehicle. Use a multimeter to test their functionality by checking for continuity when energized. Replace any faulty relays.
See more: How Often Should You Change Your Car’s Transmission Oil?
Test Alternator Output
The alternator is responsible for charging the battery while the engine is running. To test its output, follow these steps:
- Battery Voltage Test: Before starting the engine, measure the battery voltage using a multimeter. Note down the reading.
- Start the Engine: Start your vehicle’s engine and let it run at idle speed.
- Measure Voltage Again: With the engine running, measure the battery voltage again using a multimeter. The voltage should read higher than the initial reading, typically between 13.5 and 14.5 volts.
- Verify Alternator Output: To further verify the alternator’s output, turn on various electrical components such as headlights and air conditioning while measuring the battery voltage again. The voltage should remain stable within the acceptable range.
Test Electrical Components
To ensure that all electrical components are functioning correctly, perform these tests:
- Lights and Signals: Test all exterior lights and signals, including headlights, taillights, brake lights, turn signals, and hazard lights.
- Interior Electronics: Check all interior electronics such as power windows, power seats, radio, air conditioning, and dashboard controls.
- Audio System: Test your vehicle’s audio system by playing music from different sources (radio, CD player, AUX input).
- Auxiliary Power Outlets: If your vehicle has additional power outlets (cigarette lighter sockets), test them by connecting various accessories such as phone chargers or portable devices.
The Advantages of Regenerative Brakes and Why ABS Brakes Should be Used Together
Ensuring Vehicle Electrical Health: A Guide to Checking System Condition
Regularly checking your vehicle’s electrical system for any signs of damage or malfunction is essential for maintaining its overall performance and safety. By following the steps outlined in this blog post, you can identify potential issues early on and take appropriate measures to ensure your vehicle’s electrical system remains in good condition. Remember that if you encounter complex electrical problems or are unsure about performing these tests yourself, it’s always advisable to seek professional assistance from an automotive technician or electrician specialized in vehicles.
See more news at: car care vip

